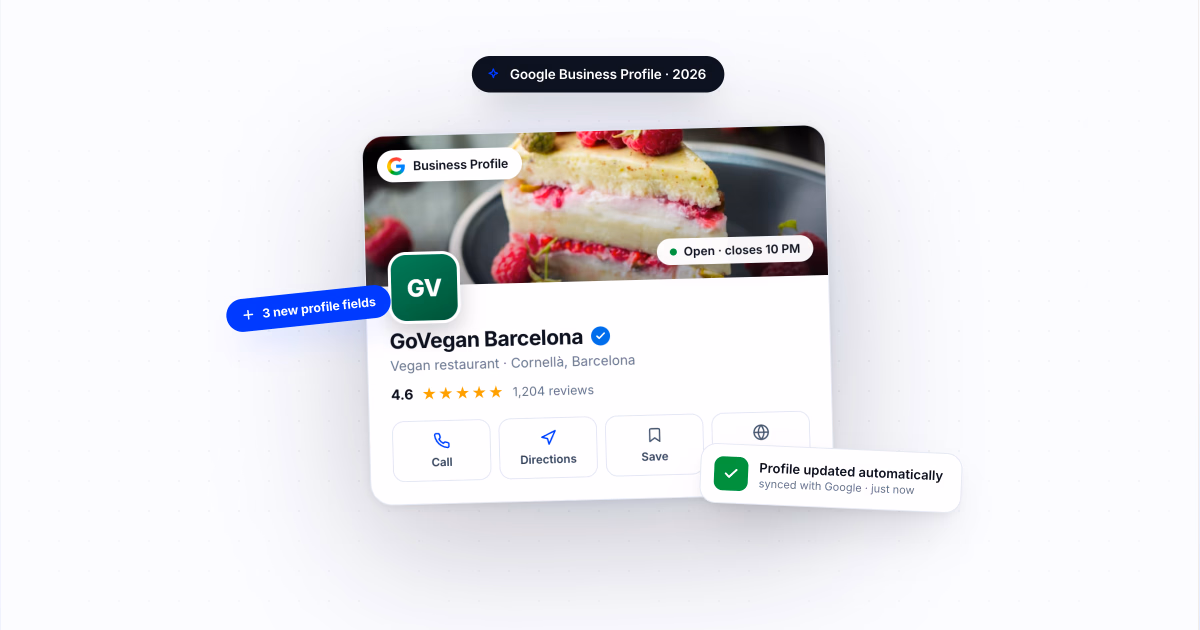
If you manage one listing, you can update a Google Business Profile in a few clicks. If you manage 20, 50, or 500 locations, that same task turns into a spreadsheet chase. A small hours change, website URL fix, or category update has to be repeated across every profile, and one missed location can send customers to the wrong place.
This guide explains how to bulk edit Google Business Profiles for multiple locations. You will see the native Google Business Profile Manager workflow, the spreadsheet rules that matter, and the faster GBP management platform option for teams that update GBP locations often.

Update one field across hundreds of locations. Localith handles single-info bulk edits, multi-info CSV updates, scheduled changes, and a full edit log without rebuilding a Google sheet.
Start free trialWhat to do before you edit your Google Business Profiles in bulk
Before you upload anything, build a clean source of truth for the business listings you plan to update. Bulk editing is fast, but mistakes can spread fast too. A bad phone number, wrong URL, or mismatched category can affect every selected location.
This is a two-step process: collecting up-to-date information and downloading existing data.
What information you need to bulk update your GBP listings
You need everything that already shows on your Google business page, so make sure you have the latest and most accurate details for every listing:
- Business names. Each location should use the correct business name.
- Addresses. Every address must be accurate to prevent listing mismatches.
- Phone numbers. All location phone numbers should follow the same format.
- Categories. Each listing should be assigned to the right GBP category based on the services or products offered.
- Operating hours. All listed hours should match your actual working hours.
- Website URLs. Each listing should include the correct link, including location-specific landing pages where needed.
You may also need extra information such as your business description, attributes and amenities, and verification status (unverified, suspended, duplicate, pending). Preparing this in advance makes the bulk editing process faster, cleaner, and less chaotic.
You also do not need to build everything from zero. You can export your existing listing data as a .csv or .xlsx file, update only the fields that need changes, and reupload the revised file through your GBP Manager.

How to download your data from GBP Manager
You can pull all your Google locations down directly from Google Business Profile Manager by following these six steps.
1. Sign in to your Google Business Profile Manager
First, log in to your Google Business Profile at business.google.com. You can also access it from the Google apps button in the top-right corner of the main Google homepage.

2. Go to the ‘Businesses’ tab and choose your listings
After logging in, open the Businesses tab and select the listings you want to download. You can also select all listings at once.

3. Open ‘Actions’ and select ‘Businesses’ under ‘Download’
Open the Actions dropdown menu in the top-right corner. Under the Download section, click Businesses.

4. Pick your spreadsheet format and extra download options
Choose the spreadsheet format for your download. Google currently lets you export the file as either .csv or .xlsx. You can also decide whether to include Google Posts and photos.

5. Download and save the spreadsheet
Click Download and wait for Google to prepare the file. When the download pop-up appears in the bottom-left corner, click Download again to save the file locally.
6. Review your listing information
Once the file is downloaded, open the spreadsheet to review the business listing information currently uploaded to Google.
The file usually contains all available column headers. Fields that do not apply to a specific listing show [NOT APPLICABLE]. Here is what the spreadsheet looks like:

Extra step: Check Google’s formatting guidelines for Google Business Profiles
There is one last thing to do before editing the downloaded file. You must check Google’s formatting guidelines for the bulk upload spreadsheet. There are mandatory fields you need to include such as name, number, website, contact information, working dates and hours, and social media links. The full list lives in Google’s official guide: Create a bulk upload spreadsheet for Business Profiles.
How to bulk edit Google Business Profiles manually with Google Business Profile Manager
Now comes the main part: actually editing the spreadsheet you already downloaded, or filling out a blank template from scratch. Here are the steps to follow.

1. Get the spreadsheet file or template you need
If you are not editing the spreadsheet you downloaded earlier, you can grab a new template by clicking the ‘Add business’ button → ‘Import business’ under the ‘Businesses’ section.
You can also download a sample spreadsheet at this stage. It gives you a useful example of how each relevant field should be filled out, which matters for fields like accessibility, amenities, parking, service options, or category-specific attributes that vary by category and country.

2. Create and format your bulk upload spreadsheet
Using the formatting rules you already reviewed and the sample file as a guide, add your updated business information to the spreadsheet. When finished, your file should look similar to the sample spreadsheet.
When editing and uploading a GBP spreadsheet, keep these points in mind:
- Keep the same store codes. This prevents duplicate listings.
- Remove columns you are not editing. Never delete the ‘Store code’ column.
- Fix duplicate or missing store codes. Google may reject or flag the upload otherwise.
- Avoid leaving editable columns empty. Empty fields can delete existing information connected to them.
- Add new locations where needed. You can include multiple new business locations in the same file.
- Use an accepted file format. Google supports
.xls,.xlsx,.ods, and.csv.
You cannot update store codes through a spreadsheet. To change them, follow Google’s dedicated procedure before editing the rest of your location data.

3. Upload the edited spreadsheet
After updating the file, return to the same Import businesses screen mentioned earlier. Click ‘Select file’, find the spreadsheet on your device, and upload it.

4. Review and confirm the changes
If no warnings appear, your upload was successful. Google may show errors or warnings such as missing store codes, duplicate store codes, or invalid country codes. Review every warning before you proceed.
Once all errors are fixed and the file uploads successfully, Google confirms that the file has been imported. You also get a chance to preview the updates in the top-right corner. Google then shows a summary of the proposed changes, including how many fields were updated, how many were unchanged, and whether any remaining errors still need attention.
When everything looks correct, click ‘Apply’ to finalize the process and update your business listings. Clicking ‘Cancel’ rejects the upload, so you can correct any issues. Most minor edits publish within minutes. Larger changes such as updates to your core NAP information (business name, address, or website URL) can take several days.

How to do a bulk GBP update via Localith
Localith gives multi-location teams a faster way to bulk update GBP locations without rebuilding a Google spreadsheet every time. The Bulk Edit tool helps you manage business information across hundreds of locations from one place.
Instead of downloading files, editing columns, fixing errors, and re-uploading spreadsheets manually, you can update multiple Google Business Profiles through a clear step-by-step interface. On top of keeping data accurate and consistent, Localith also offers an info lock function that prevents anyone from making unauthorized edits on your locations.
We support both a single-info bulk edit function (more streamlined) and a multi-info bulk edit function (CSV-based, like above). Here is how to use the single-info path to bulk edit a specific field across locations.
Step 1: Create your account and add your locations
First, create your Localith account or start a free trial. Then log into the platform to access your GBP management dashboard. Once inside, you can add all the Google locations you want to manage via the ‘Listings’ tab from the left-hand ribbon menu.
Step 2: Select one or more locations
Access ‘Bulk Edit’ → ‘Single-info bulk edit’ from the left-side menu and choose the locations you want to update. You can pick locations individually or as part of a group.
You can search for locations by name, address, group, or tag. You can also click ‘Select all’ to update every listing at once, which is ideal for running dozens of listings that need consistent business data.

Step 3: Choose the type of information you want to update
Next, select the business information field you want to change. Available options include:
- Description. Update your business description across selected locations.
- Working hours. Change regular opening and closing hours.
- Special hours. Add holiday or temporary hours.
- Category. Update the main or additional business categories.
- Phone number. Change location contact numbers.
- Website URL. Update website links or location-specific landing pages.
- Opening date. Add or edit the opening date.
- Social profiles. Connect relevant social media profiles.
- Accessibility, amenities, parking, service options, and payment. Update GBP attributes for the selected locations.
- Menu. Update the items on your menu.

Step 4: Edit the selected field
After choosing a field, Localith shows the relevant input area where you can enter the new information. For example, if you select Working hours, you can set the opening and closing times for each day of the week. You can also schedule the update to go live at a specific date and time.

Step 5: Preview and confirm your edits
Before submitting anything, Localith shows you a preview of the exact listings that will be changed and the updates that will be applied. This is your final chance to review the data, catch mistakes, and confirm only the edits you actually want to publish.
Step 6: Track the status of your edits
After submitting your changes, go to the ‘Edits Log’ tab to monitor their status. There, you can track:
- Accepted changes. Edits that Google approved and published.
- Pending changes. Updates still waiting for confirmation.
- Declined changes. Edits that were rejected.
- Recent activity. A visual record of changes by location and field type.
This is especially useful for agencies, franchises, and larger teams that need a reliable audit trail for every location update.
Step 7: Lock your GBP profile information
Localith also lets you protect your Google Business Profile data by automatically declining unauthorized GBP edits. You can find this option under the ‘Listings’ tab after opening any of your locations. Look for the ‘Lock and protect profile’ section and toggle the button.
Once enabled, Localith detects external changes and restores your original business information. This helps protect your profiles from spam, incorrect suggested edits on Google Business Profile, and misleading updates.

Bonus step: Bulk upload photos to all Google locations
Under ‘Publishing’ you find a ‘Photos’ tool that lets you bulk upload photos to your Google profiles. It is useful for multi-location businesses that want to keep listings visually consistent.
Tap ‘Upload photos’ in the top-right corner, select your locations, upload your images, and assign the correct photo categories. Use this to add images of your offices, products, team members, storefronts, or other business assets across all selected locations.


Run every Google Business Profile from one operating dashboard. Localith centralizes listings, reviews, posts, and analytics so your team can manage every location without jumping profile to profile.
Start free trialMulti-info bulk edit via CSV file using Localith
Localith also supports a faster CSV-based workflow when you need to update multiple types of business information at once across all your locations. The flow is similar to the manual Google spreadsheet process, but it stays inside the Localith workflow.
Step 1: Access the multi-info bulk CSV edit option
Log into your Localith GBP account and go to ‘Bulk Edit’ → ‘Multi-info bulk CSV edit’.
Step 2: Select the fields you want to update
Choose all the business information fields you want to change. Localith then prepares a CSV template based on your selected fields.
Step 3: Download and edit the CSV file
Click ‘Download listings’ to download the CSV template. Open the file and add the updated business information manually. Keep the location identifiers intact and only edit the fields you actually want to change.
Step 4: Upload the completed CSV file
After editing the file, upload it back into Localith. Once the file is correctly formatted, you can preview the updates and confirm the changes. Localith then sends the new information to Google, and the updates appear on your Google Business Profiles after processing.
This works well for mixed updates like location-specific descriptions, phone number cleanup, category corrections, and address fields that vary by branch.

Bulk editing with Google vs using a GBP management tool
Google Business Profile Manager and Localith both help you update multiple listings, but they solve different operating problems. Google gives you the official spreadsheet path. Localith gives your team a repeatable workflow for recurring GBP operations.
| Criteria | Google Business Profile Manager | Localith GBP management tool |
|---|---|---|
| Best for | Occasional native spreadsheet updates | Recurring multi-location updates |
| Setup | Download and prepare Google’s spreadsheet | Select locations and fields in the dashboard |
| Single-field updates | Possible, but spreadsheet-heavy | Built for single-info bulk edits |
| Multi-field updates | Bulk upload spreadsheet | Multi-info CSV bulk edit |
| Review workflow | Google upload warnings and errors | Preview, confirm, then track status |
| Team visibility | Limited to the Google account workflow | Edit tracker and centralized location workflow |
| Risk control | Depends on spreadsheet discipline | Smaller guided steps and post-edit tracking |
| Best user | Owner or admin comfortable with sheets | Operators, agencies, franchises, multi-location teams |
If you only need to update a few profiles once or twice a year, Google’s native spreadsheet process may be enough. If bulk updates are part of your monthly operating rhythm, a GBP management platform saves time and gives the team a clearer record of what changed. For an end-to-end walkthrough of the full update flow, read the complete guide to bulk GBP updates; for a comparison of platforms that handle it, see the best Google Business Profile management tools.
7 best practices for bulk editing multiple Google Business Profiles
These bulk-editing best practices sit on top of the broader Google Business Profile management best practices that govern your day-to-day GBP operations.

1. Use consistent location data before uploading changes
Clean the data first. Make sure core fields match your internal source of truth.
2. Follow Google’s spreadsheet formatting rules
Keep the Google formatting guide open while editing the sheet, especially for hours, categories, attributes, and descriptions.
3. Test major updates on a small group of locations first
A small test can catch formatting issues before they become a large cleanup job.
4. Keep store codes and naming conventions consistent
Store codes should be unique, stable, and easy to understand.
5. Review upload errors before re-uploading
Fix the root issue instead of uploading the same file again.
6. Use a third-party GBP management tool for recurring bulk updates
If more than one person touches GBP data, use a tool that keeps the workflow and history in one place. That is what bulk updates inside Localith are built for.
7. Track what changed after the update
Keep a record of date, field, location group, old value, new value, and owner.
Conclusion: Edit your Google Business Profiles via Localith for less manual work
Bulk editing Google Business Profiles is the right move when the same field, campaign, or cleanup task affects many locations. Google Business Profile Manager can handle this through spreadsheets, but the process depends on careful formatting, clean store codes, and close review of upload errors.
Localith is better when bulk updates are part of your normal workflow. You can update one field across selected locations, use CSV for multi-field changes, and track what happened afterward from the same dashboard. Start a free trial or check Localith pricing to run your next bulk GBP update inside Localith.